Brickslips are 2cm thick slips of original facing bricks and as such have the same characteristics as the facing bricks in accordance with European CE standards. They are also lightweight and very easy to handle.
When applying these slips to your outside wall, the reduced thickness has the advantage that the normal detailing of windows and doors is maintained. This means you will not have high alteration costs. When applying to interior walls, you will lose less space because of the reduced thickness. When joined, the brickslips have the same appearance as ordinary brickwork with full bricks.
You can choose from 5 sizes of brickslips:
Module size: 50: ± 190 x 20 x 50 mm
Waal size: ± 210 x 20 x 50 mm
Module size 65 : ± 190 x 20 x 65 mm
Thick size: +/- 210 x 20 x 65 mm
Normal size: +/- 240 x 20 x 70 mm
APPLYING BRICKSLIPS
Brickslips are easy to apply, without the need to make any additional alterations to doors or windows.
STEP BY STEP GUIDE
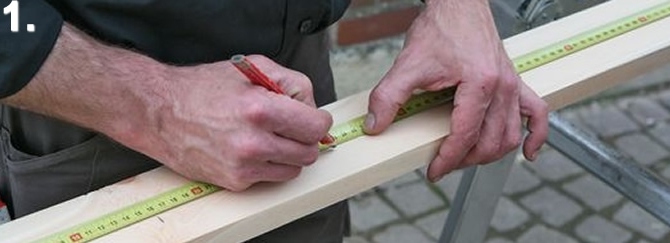
STEP 1 – DETERMINE THE SIZE OF THE COURSES
Determine the size of the courses based on the average brickslip height and stretch a string for a straight result.
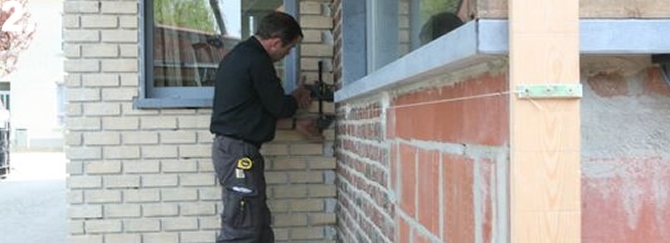
STEP 2 – APPLY A READY-TO-USE ADHESIVE
Apply a ready-to-use adhesive to the wall and spread the adhesive with a notched adhesive spreader.
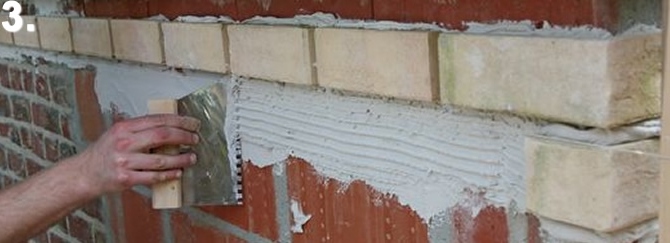
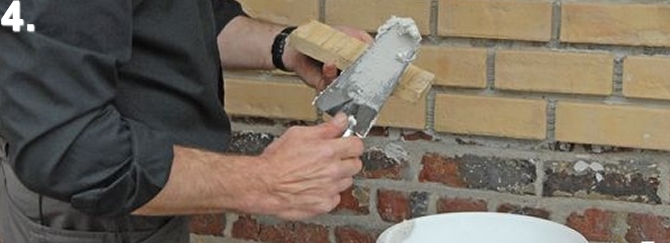
STEP 3 – APPLY ADHESIVE TO THE REAR OF THE BRICKSLIPS
Apply adhesive to the rear of the brickslips for a strong bond, available from a building material supplier near you.
STEP 4 – ADHERE THE BRICKSLIPS TO THE WALL
Adhere the brickslips to the wall and press firmly.
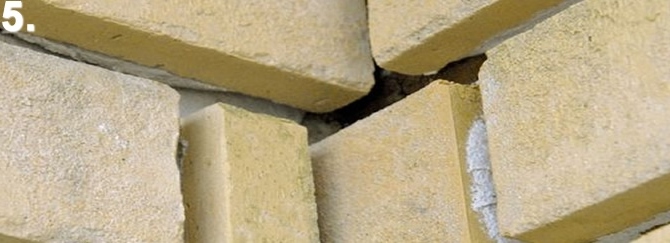
STEP 5 – LET EACH LINE OF SLIPS ALTERNATE IN THE INNER CORNERS
Let each line of slips alternate in the inner corners, to avoid an unsightly, vertical joint line.
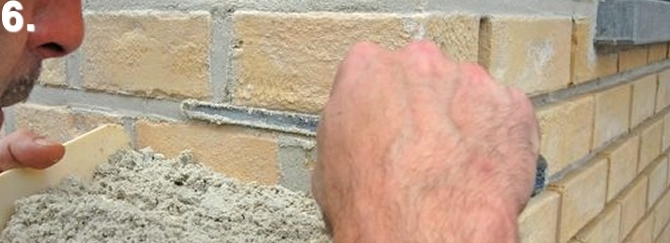
STEP 6 – POINT THE BRICKSLIPS
Point the brickslips.
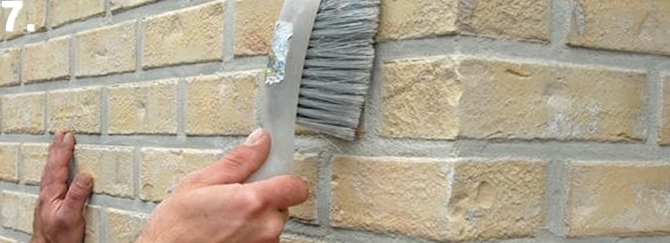
STEP 7 – BRUSH OFF THE EXCESS SAND AND MORTAR
Before the mortar has set, brush off the excess sand and mortar with a soft brush.
